
Planning and installing a custom shower enclosure can feel intimidating. Precise measurements, drilling into finished tile, and creating a watertight seal are high-stakes steps. Mistakes can lead to leaks, cracked tile, or expensive glass damage.
This guide walks you through each stage of the process, from design and preparation to final adjustments and long-term care. You’ll learn what to expect during installation, which steps homeowners sometimes tackle themselves, and when calling a professional glass installer is the safest and smartest choice.
Along the way, we’ll cover planning and measuring, tools and materials, a step-by-step installation breakdown, professional vs. DIY considerations, and maintenance tips to keep your enclosure looking new.
Before You Start: Design, Measurements, and Safety
Choose your enclosure style and layout
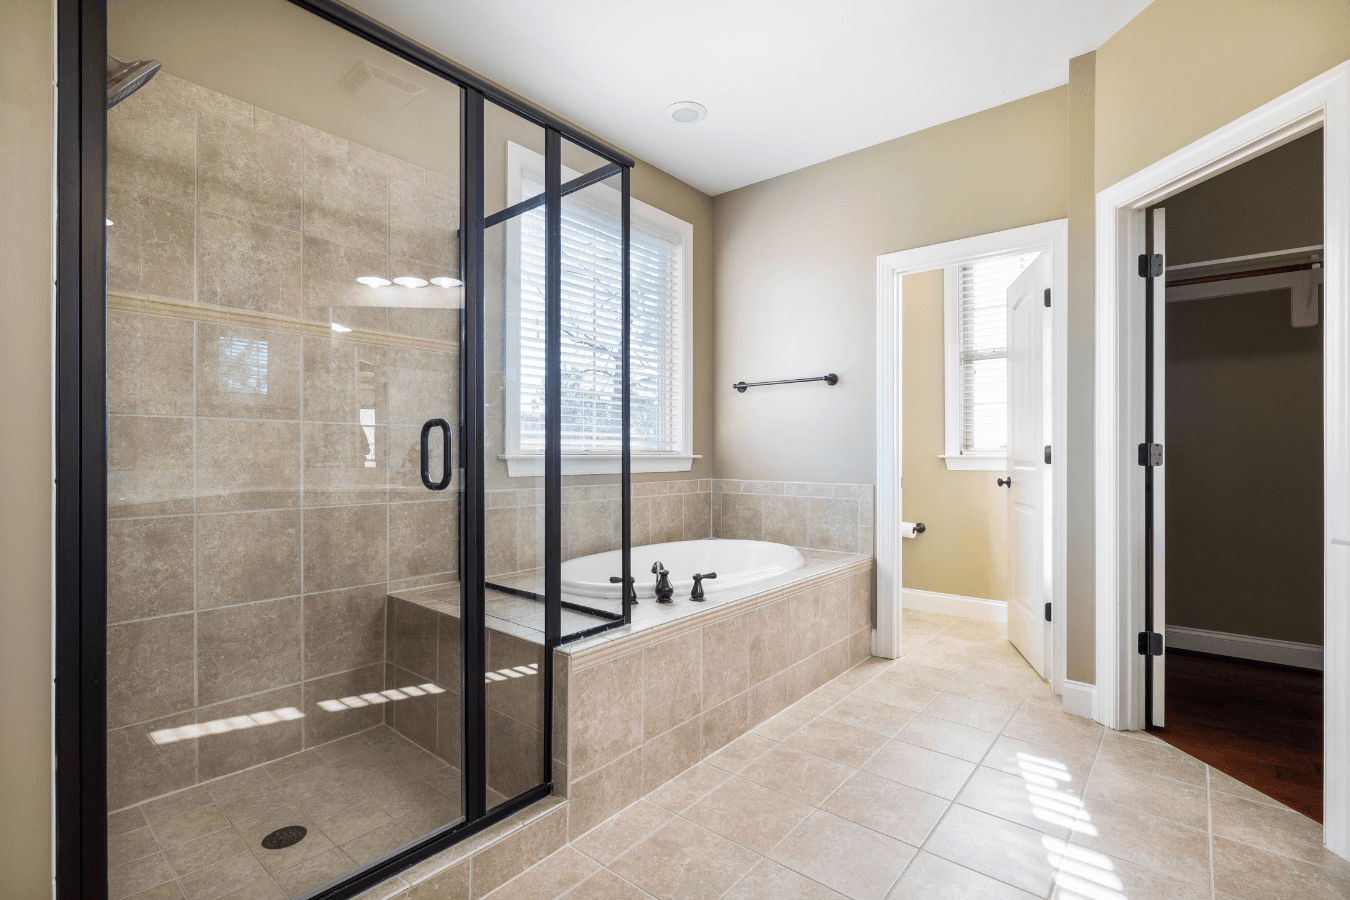
Before installation begins, it’s critical to choose the right enclosure style for your bathroom and shower footprint. Common options include framed, semi-frameless, and frameless enclosures each with different hardware, thickness, and installation requirements.
If you’re still deciding, these resources can help:
- Types of Shower Enclosures: The Pro Review
- Framed, Semi-Frameless, and Frameless Shower Enclosures: Which One Is Right for You?
- 6 Tips for Choosing the Perfect Glass Shower Enclosure
Layout decisions such as door swing, panel placement, and clearance, should be finalized before measurements are taken.
Take accurate measurements
Custom shower enclosures are built to exact specifications. Measurements typically include:
- Width and height at multiple points
- Out-of-plumb wall conditions
- Curb levelness
- Ceiling height (for tall or floor-to-ceiling designs)

Check walls, curb, and substrate
Before installing glass, verify that:
- Tile is fully set and cured
- Walls are structurally sound
- The curb is level
- Waterproofing is complete behind tile
Building and safety standards referenced by organizations like the International Code Council (ICC) emphasize proper substrate preparation to prevent long-term water damage.
Tools and Materials You’ll Need
Common tools for shower enclosure installation
Depending on enclosure type, installers typically use:
- Tape measure and level
- Drill with tile-safe bits
- Screwdrivers or impact driver
- Suction cups for handling glass
- Rubber mallet
- Non-marking shims
- Safety gear (gloves, eye protection)
For safety guidance when working with glass and power tools, OSHA provides general PPE and jobsite recommendations at osha.gov.
Typical materials and hardware
Materials may include:
- Tempered safety glass panels
- Wall jambs or U-channels
- Hinges or rollers
- Handles and towel bars
- Anchors and fasteners
- Silicone sealant rated for wet environments
Tempered glass is required for shower enclosures due to its strength and safety characteristics, as outlined by manufacturers like Cardinal Glass.
Step-by-Step Installation of a Custom Shower Enclosure
Step 1: Prep the space and mark your layout
The shower area is cleaned and dried. Installers mark the placement of tracks, channels, and hardware, double-checking alignment and clearances before drilling begins.
Step 2: Install the base track and wall jambs
Base tracks or wall jambs are anchored to tile using appropriate fasteners and waterproofing techniques. Holes are drilled carefully to avoid cracking tile, and anchors are set securely.
Step 3: Set fixed glass panels
Fixed panels are positioned into channels or clamps, leveled, and secured. This step often requires two people due to the weight and fragility of glass.
Frameless panels must be perfectly plumb to ensure proper door operation later.
Step 4: Hang the shower door
Shower doors are attached using hinges or roller systems. Alignment is critical, doors must open and close smoothly without rubbing or self-swinging.
Step 5: Seal, caulk, and waterproof
High-quality silicone sealant is applied to joints and seams to create a watertight barrier. Proper sealing prevents leaks while still allowing for expansion and movement.
Step 6: Final adjustments and cleanup
Installers make final adjustments to hinges, handles, and seals. Excess sealant is cleaned, protective films are removed, and the enclosure is inspected for fit and function.
Professional vs. DIY: When to Call in a Glass Expert
Factors that make a project more complex
DIY installation may be tempting, but complexity increases when:
- Walls are out of plumb
- Frameless glass is used
- Large or heavy panels are involved
- Custom angles or neo-angle layouts are required
Frameless enclosures, in particular, benefit from professional installation due to tight tolerances and safety risks.
Cost and warranty considerations
Improper DIY installation can void glass warranties and lead to costly repairs.
Care and Maintenance After Installation
Daily habits that protect your glass
Simple daily habits extend the life of your enclosure:
- Use a squeegee after each shower
- Wipe down hardware
- Vent the bathroom to reduce moisture
Long-term upkeep for hardware and seals
Periodically:
- Inspect silicone seals for wear
- Tighten loose hardware
- Use non-abrasive cleaners designed for glass
If you’re considering frameless glass, these benefits may influence your decision: Four Advantages to Frameless Glass Shower Enclosures.
FAQ: Custom Shower Enclosure Installation
How long does a custom shower enclosure installation take?
Most installations take 2–4 hours, depending on enclosure type and complexity.
Do I need tempered glass for my shower?
Yes. Building codes require tempered safety glass for shower enclosures due to its strength and safe break pattern.
Can I install a frameless shower door on out-of-plumb walls?
Yes, but it requires precise measurements and professional adjustment to ensure proper fit and sealing.
How long should I wait to use the shower after caulking?
Typically 24–48 hours, depending on the sealant manufacturer’s instructions.
What’s the best way to keep glass free of spots?
Daily squeegeeing and using a mild, non-abrasive cleaner prevents mineral buildup.
Is DIY installation right for every homeowner?
Not always. While some framed systems may be DIY-friendly, custom and frameless enclosures are best left to professionals for safety and performance.
Ready to Upgrade Your Shower?
You started this guide looking for clarity about the process, and now you know exactly how a custom shower enclosure comes together from consultation to final inspection. If you want a shower that looks beautiful and functions perfectly for your lifestyle, the team at Demers Glass is ready to help. Contact us today to start designing your new enclosure.